

Chips, Detergent, Frozen Food on One Machine? The Master VFFS Adjustment Formula
The “Master” Adjustment Formula
Chips, Detergent, Frozen Food on One Machine — How Do You Adjust It?
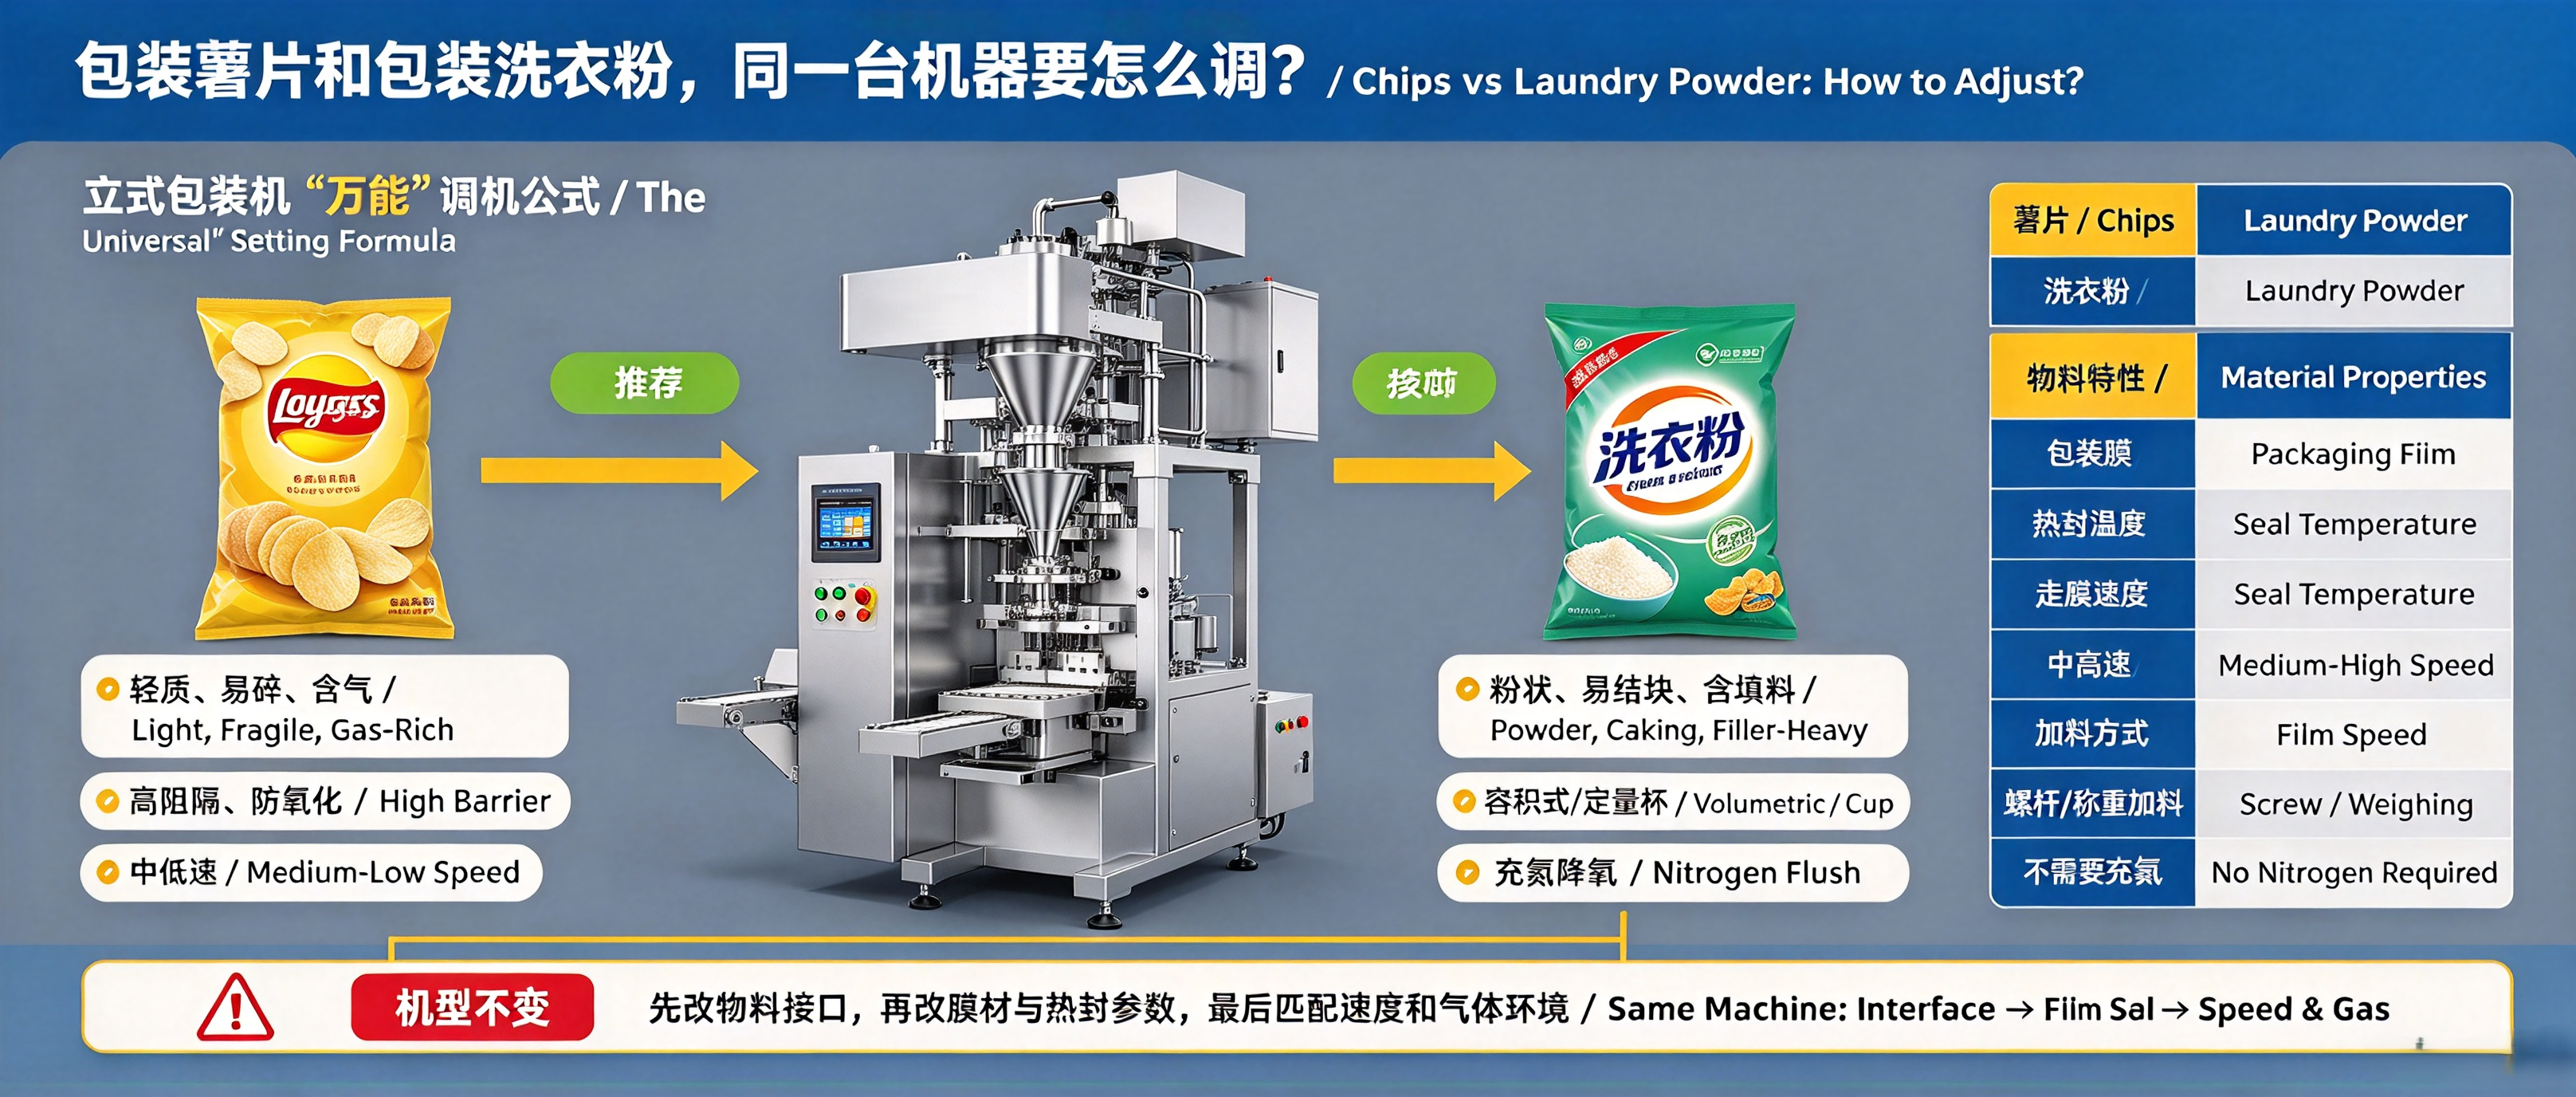

Cover: changing the product does not mean changing your whole approach
One machine: chips in the morning (gas flushing), detergent in the afternoon (evacuation), and a batch of frozen food at night (low-temperature fast sealing). A new product means a whole new set of parameters? Not really — the logic never changes.
The manual hides the adjustment logic in a few paragraphs; today we turn it into a master formula you can follow.
1. The Master Formula: Four Steps
• Step 1 · Set temperature by material: vertical and cross seal temperatures per film material and thickness;
• Step 2 · Set length by registration mark: bag length = distance between two marks; align cutter and eye;
• Step 3 · Tension and center: adjust the tension roller so the film runs evenly and centered;
• Step 4 · Timing as a fallback: only touch timing after the first three are correct.
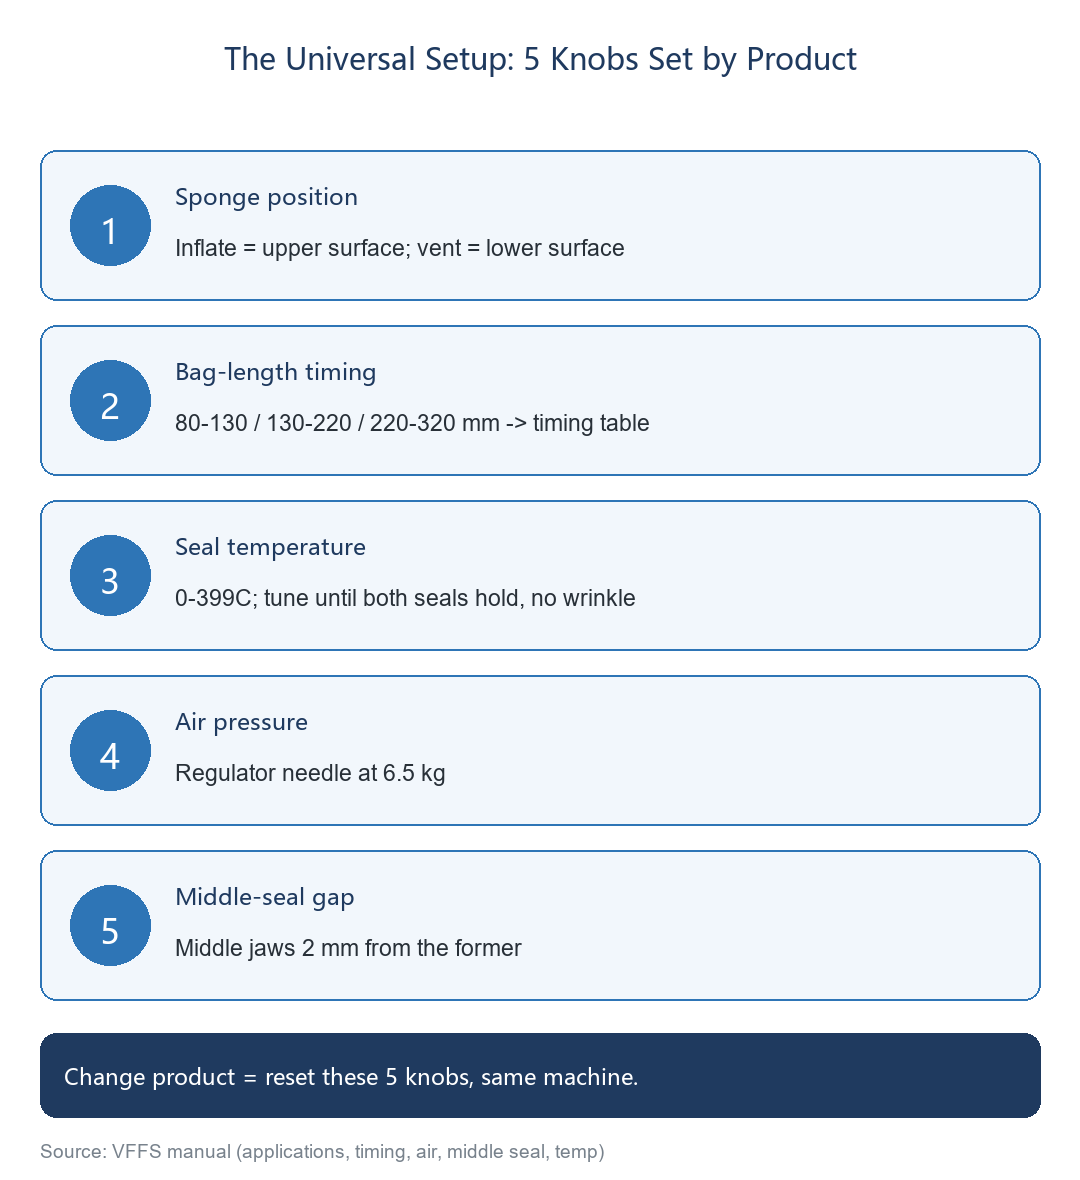

Fig. 1: the 4-step master adjustment formula (from the manual, setup & operation)
2. Step 1: Temperature by Material — No Fixed Number
“Sealing temperature depends on material, thickness and current packaging speed, so no fixed value can be given — adjust it during trial runs.”
— Vertical packaging machine instruction manual — sealing temperature
Table 1. Material temperature start references (from the manual, film materials)
|
Material |
Temperature character |
Setup tip |
|
OPP/CPP |
Higher melting point; needs higher sealing temp |
Start slightly high; watch the seal pattern |
|
OPP/CE |
General structure; wide window |
Start at mid value for the speed |
|
MST/PE |
Easy-tear layer; sticks at low temp |
Lower temp, slightly longer time |
|
PET/PE |
Strong, heat-resistant |
Mid-high temp; match the speed |
✔ The temperature controller adjusts 0–399°C continuously, but the setting must follow speed, film thickness and ambient temperature — pick a reasonable start, seal two or three bags and fine-tune by the pattern.
3. Step 2: Length by Registration Mark
• Set the bag length in the “run screen” — the distance between two registration marks;
• Align the cutter: when the end-seal jaws close, they cut right on the mark;
• Point the eye at the mark and tighten the locking handle.
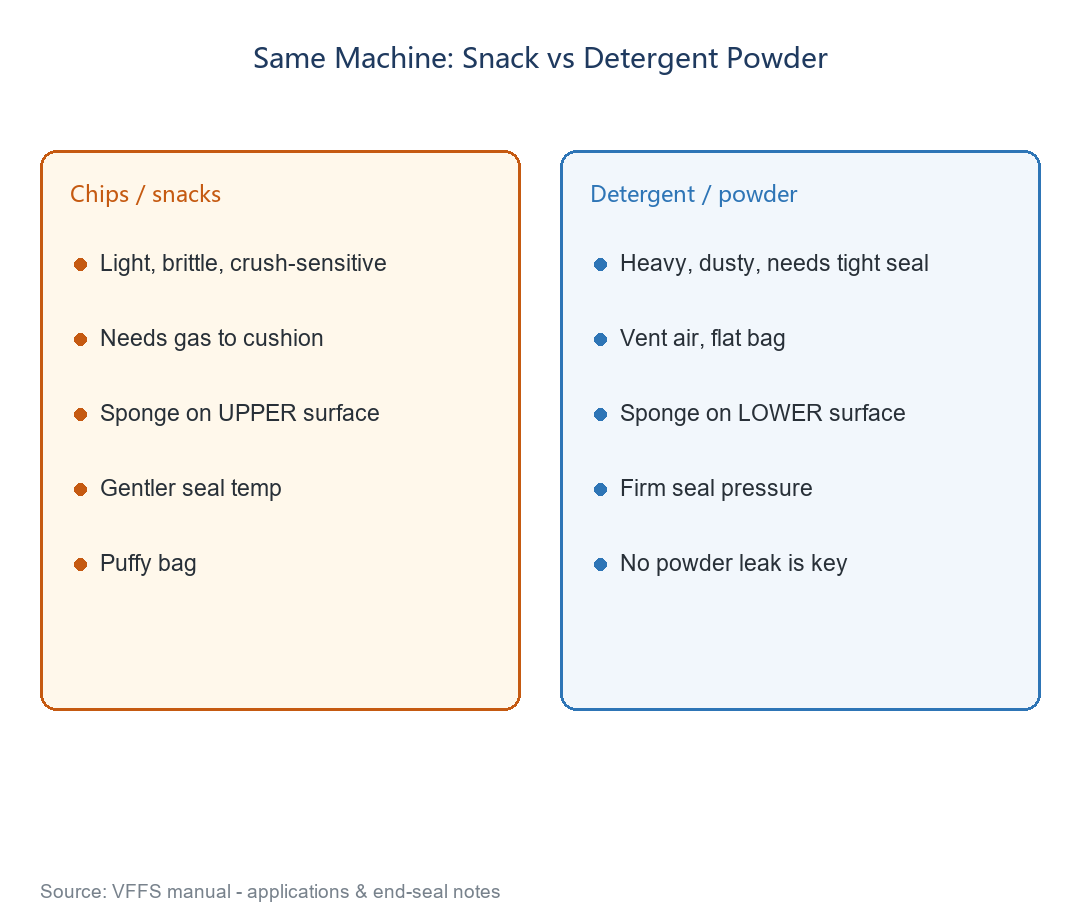

Fig. 2: setup steps and a common-fault quick check (from the manual, setup & operation)
4. Step 3: Tension and Center for Smooth Film
“If film tension is uneven as it passes the former, film feeding will be rough — it must be corrected before starting.”
— Vertical packaging machine instruction manual — film tension adjustment
• Loosen the left/right adjustable handles, swing the rocker fore/aft to change the tension roller position relative to the former;
• The film must sit between the left/right retaining collars, centered with the former axis in one plane;
• Off-center: loosen the left butterfly knob, turn the right adjustment knob to center, then retighten.
⚠ Correct uneven tension before starting — running with it makes bag length, seals and the eye all drift.
5. Step 4: Timing as a Fallback — Order Matters
“The set times are not absolute; if bags leak due to cold film or cold ambient temperature, adjust the sealing temperatures first before increasing delay or action times.”
— Vertical packaging machine instruction manual — time settings
Key order: bags leaking? Adjust sealing temperature first; only if it still leaks, increase delays or action times. Do not add time first — that is masking a temperature problem with slower speed.
⚠ The center-seal jaws should sit about 2mm from the former; factory-set and normally untouched — confirm this before suspecting anything else.
Final Thoughts
Product changeover without panic — four steps: temperature by material, length by mark, tension and centering, timing as fallback. Stick these four steps next to the machine and even a new operator can handle it.
Next article: filling tube keeps blocking? Don’t rush to disassemble — check these 3 causes first, most need no wrench at all.
Call to Action & Series Note
Changeover chaos? Reply with the keyword “setup” for the printable changeover quick card; send us your product and film and our engineers will pre-set your parameters.


